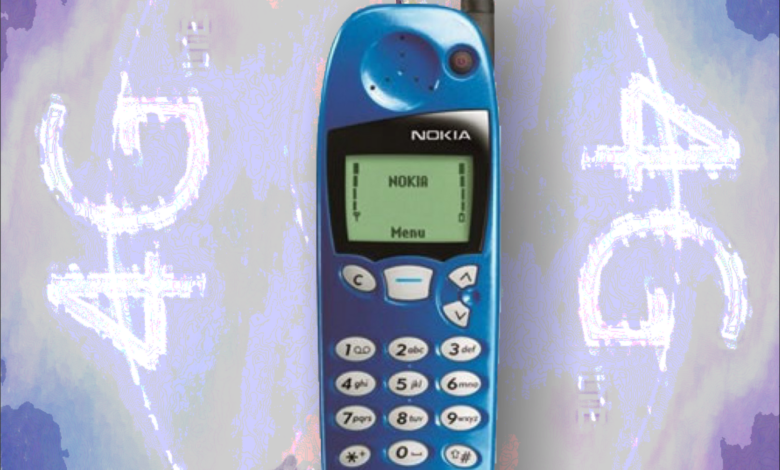
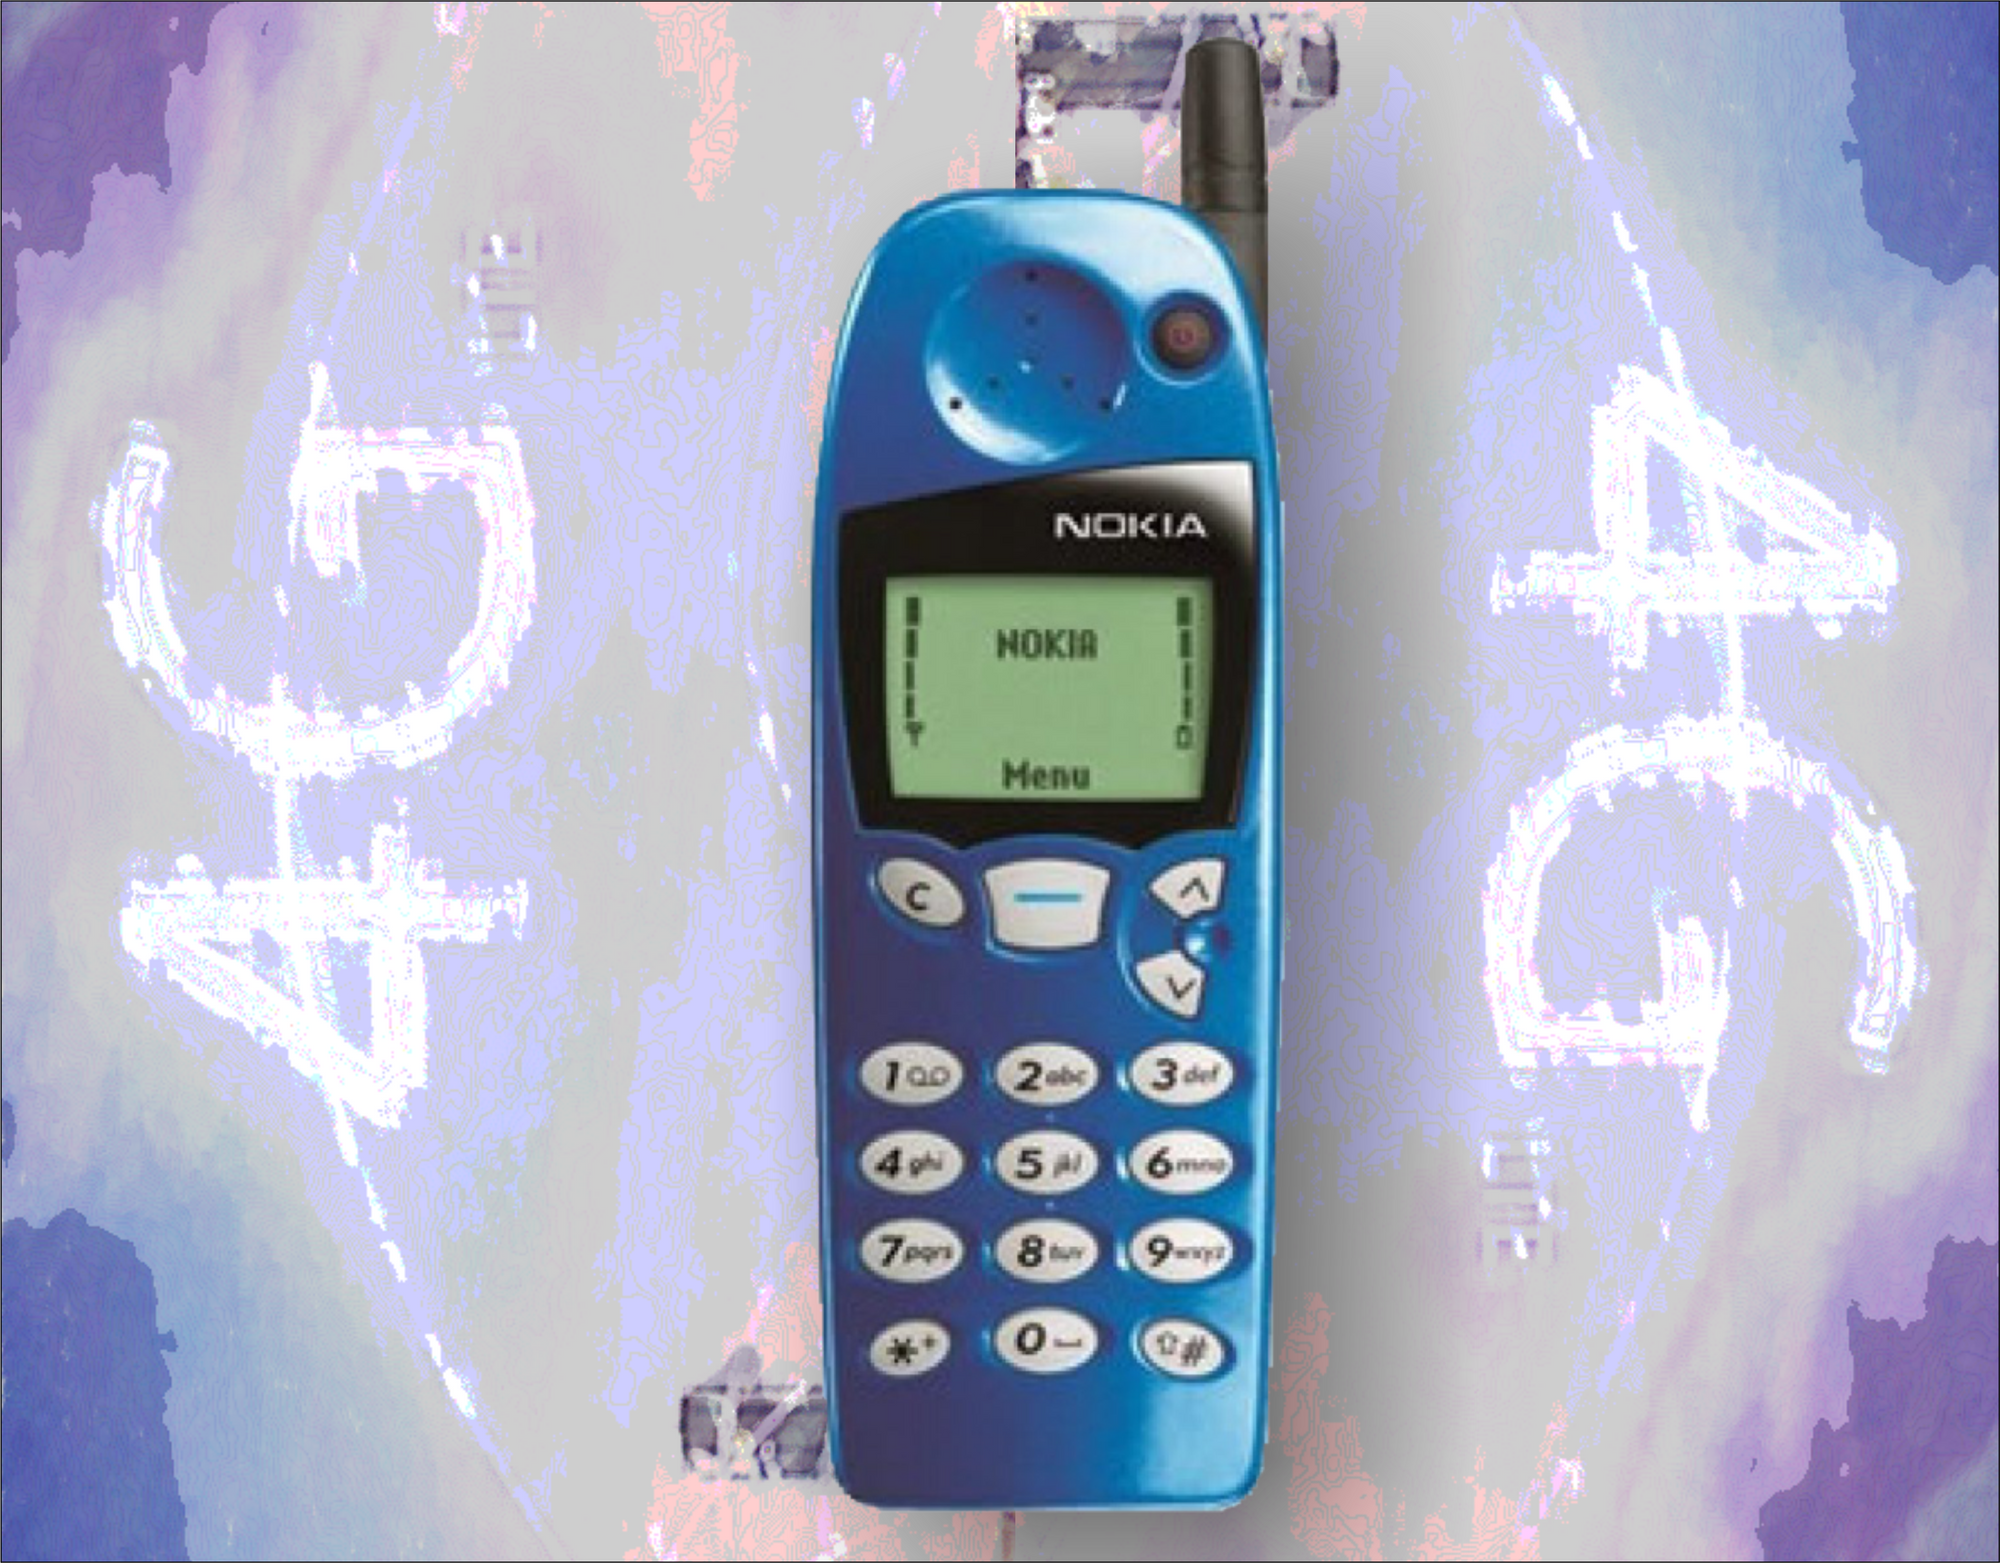
Nokia 5110 – Back from the dead. Part 1: Nostalgia

I loved my Nokia 5110 and I wonder if it was possible to breathe new life into this long-shelved and still-memed mobile phone. As it turns out, not only is it possible, but it’s going to be a lot easier than I anticipated.

The eniminable Nokia 5110 has been the stuff of legends. They are famous for being, probably accidentally, but nonetheless near indestructable in daily use.

While the Memes generally refer to the 3210 or the 3310, the classic 5110 is no less a condender for most robust general use mobile phone available. The unique ability to change its outer faceplate was novel at the time and has only seen a resurgence with the advent of the modern phone case in its style and durability.
My first ever phone was a Nokia 5110, given as a hand-me-down from my father and it’s always held a special place in my soul. With that sentiment, I had always had thoughts about bringing the old beast back to life.

The Nokia 5110 is a 2G telephone, meaning it uses the original 2G mobile network to communicate. This network has long been decommissioned in most western countries, including Australia. And the 3G network is only a 2 or 3 years from the same fate. So while pondering this, I wondered if there were any good universal 4G SoC modules I could use to ‘retrofit’ the 5110. And to my surprise, there is an exceptionally fitting candidate.
Enter: The SIM7600SA.

This little module is capable of communicating with the 4G network, and facilitating SMS and Calling, as well as a myriad of other functions like TCPIP, Data transfer and other things that definitely wouldn’t be very useful in a 5110, but none-the-less impressive for a module that is 30mmx30mm in size.

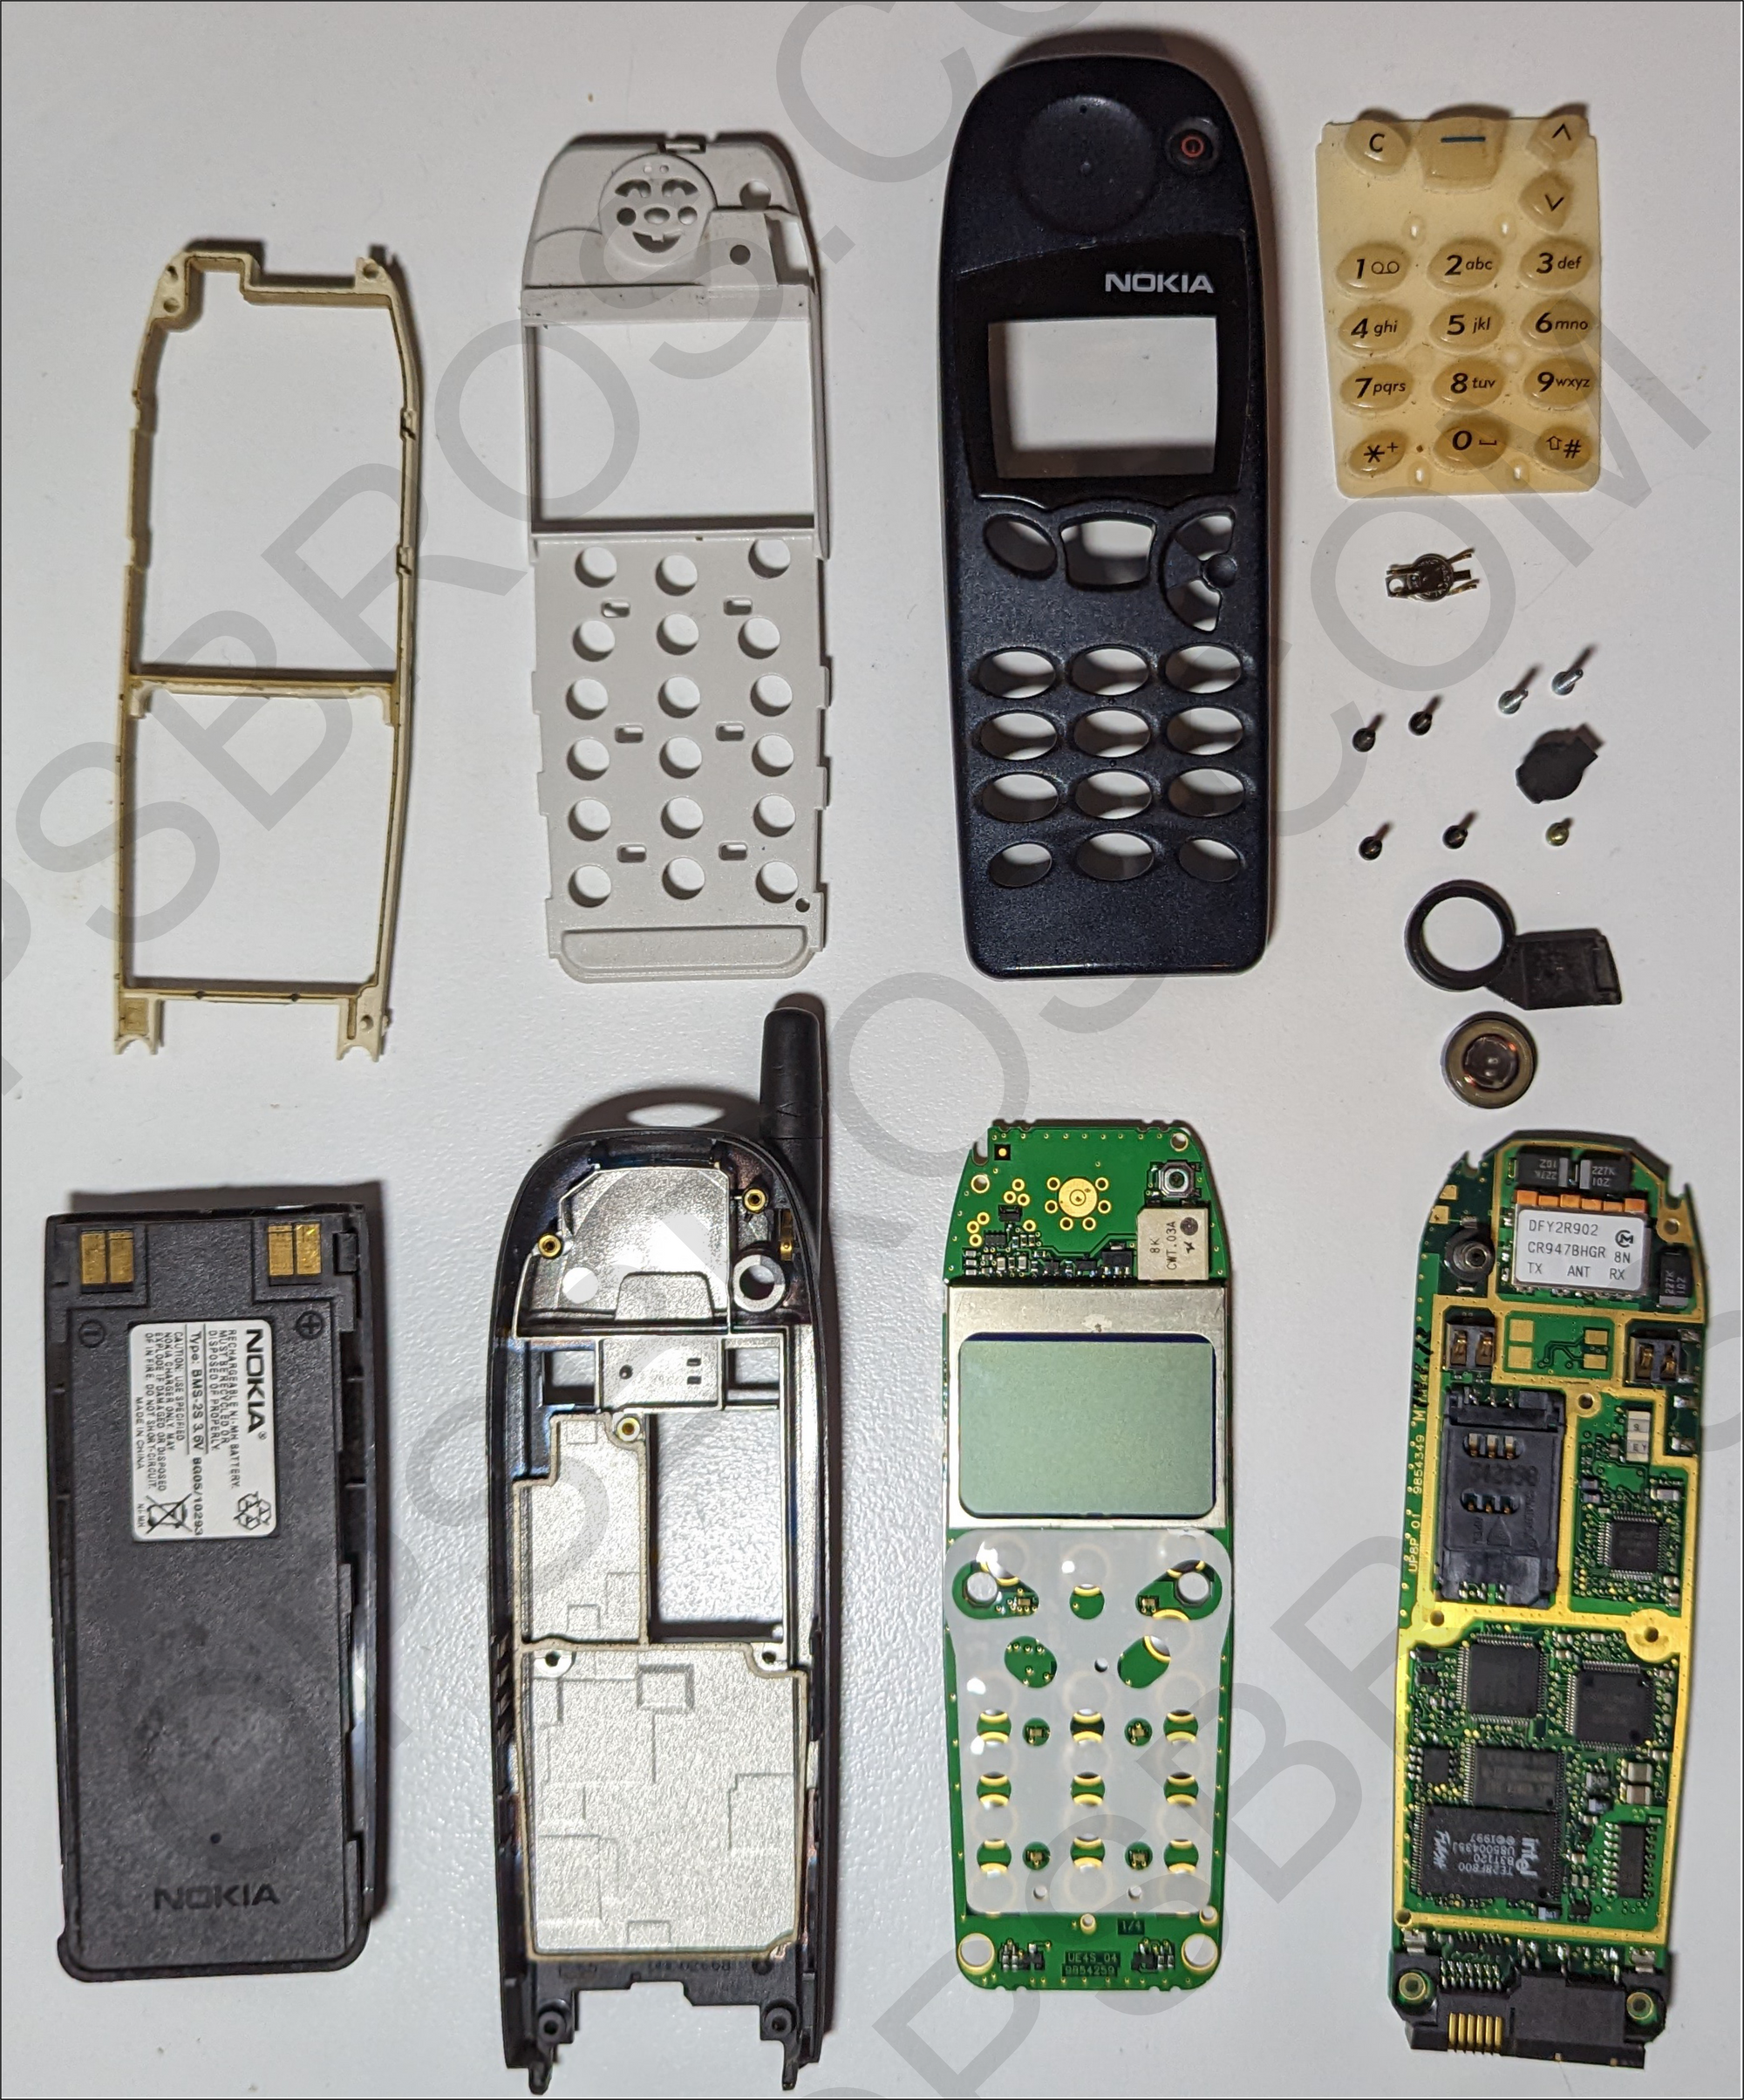
Now armed with this chip, my next mission was to disassemble a Nokia 5110 and see how much effort would be required to retrofit this phone. I had horrid visions of bodge wires everywhere, modded button interface and not being able to use the classic 5110 display.

To by absolute suprise and delight, the construction of the 5110 has meant that this project is going to be decidedly easier than I originally hoped, and will allow me to maintain the entirety of the look and feel of the 5110 while giving it new life as a 4G phone.

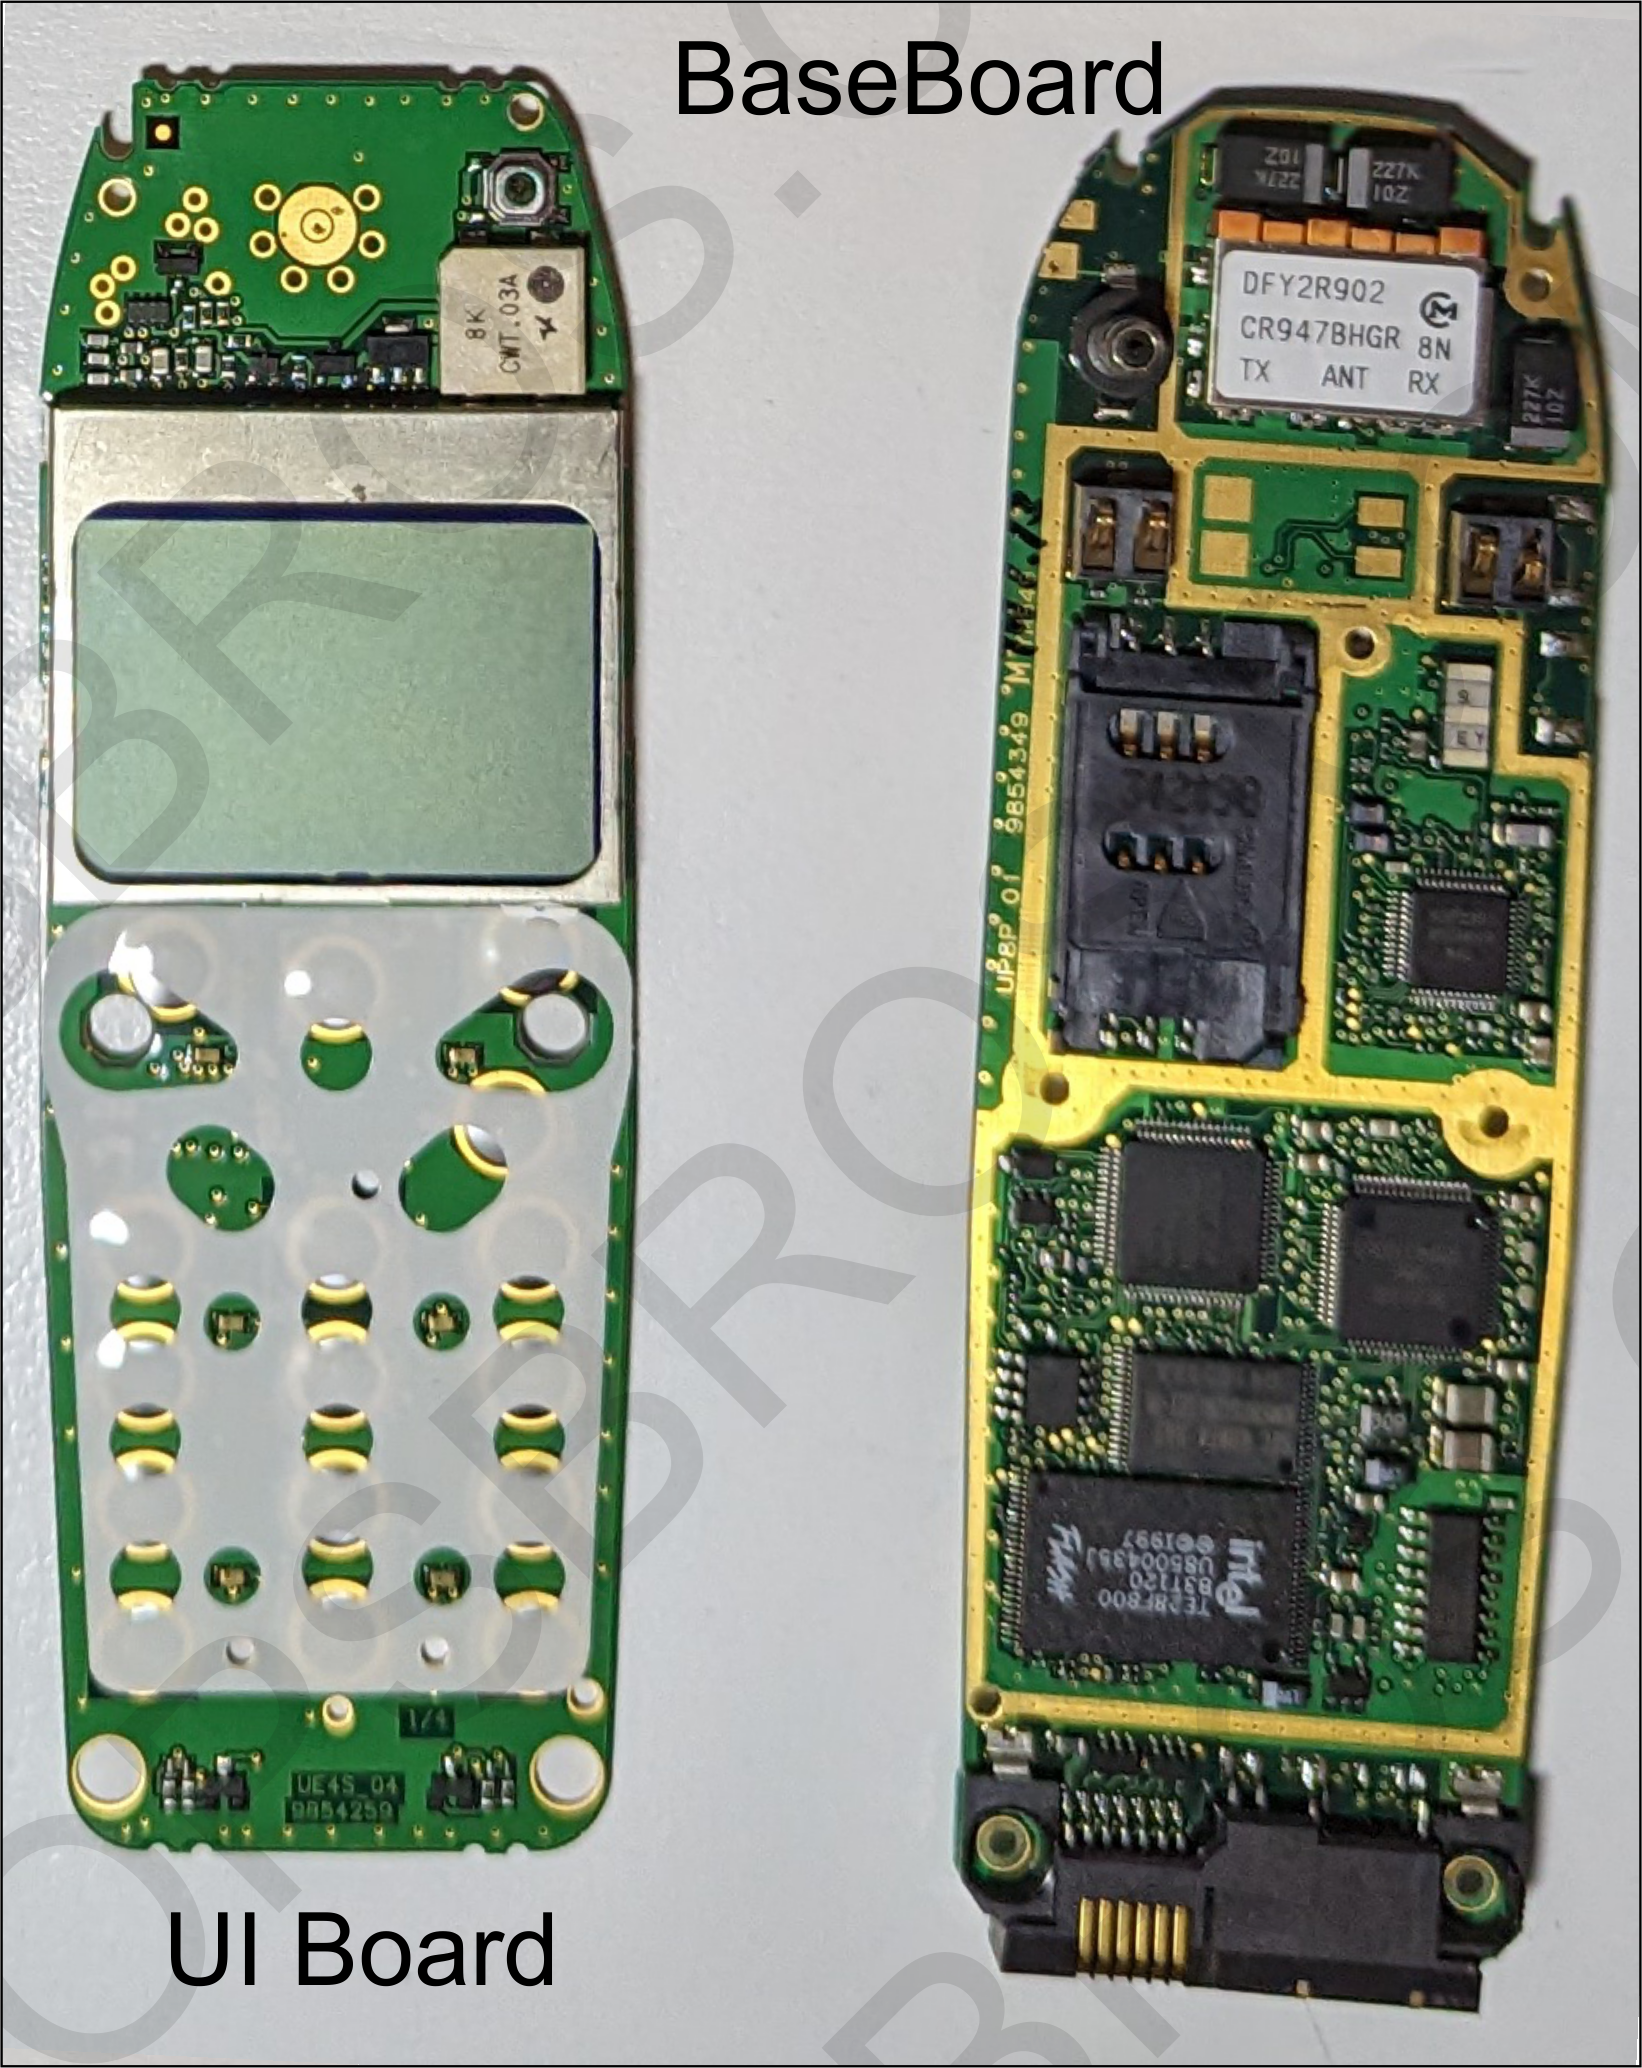
Inside the 5110, there are two PCBs. The baseboard which is the board I will need to recreate, and the interface board. Complete with a board-mounted B2B interconnect. Thanks to Nokias design skills, i will simply be able to recreate the baseboard with the new 4G module, a microcontroller, and some audio processing and power management circuitry and it will be able to seamlessly fit inside the phone.

Thanks mostly to the phones age, interfacing with the UI board will be rather trivial. The B2B interconnect contains a standard ROWx/COLx pinout for the buttons, a separate line for the Power button, lines for the LED backlights, buzzer and Speaker, and even the display is a standard I2C interface. I couldn’t have hoped for more.
Stay tuned for part 2 where I break down the design of the new board, determining what is needed to fulfil the functions the phone needs to operate and ensuring this phone will last for many years to come.


